Basic Downloads
FaxDesk
FaxDocs
FaxUp
FaxTrack
WebForms
WLink
Bot Portfolio
Discord Whitelist
Markdown Guide
Weblutions Documentation > Product Documentation > FaxUp > FaxUp Installation
FaxUp Installation
Welcome to the install guide for FaxUp. Please take note that this guide is intended for the recommended Ubuntu 20.04 OS.
Install a LEMN Stack
A LEMN stack is a group of programs that will be the core operators for our website.
L inux
E ngine-X (but written as Nginx)
M ySQL Database
N odeJs
First off we want to Login to a terminal, I recommend using Terminus as it's very user friendly and easy to navigate (download via their site or Microsoft Store).
Installing Nginx
Once you have logged into the terminal we want to start by updating our package index and then installing Nginix
Tip: Enter one command at a time when using a command-line interface.
sudo apt update
sudo apt install nginx
You will be prompted to press Y to install Nginx, do this.
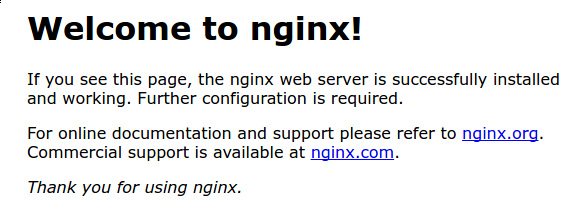
Once Nginx is installed you should be able to navigate to your servers IP and you should be presented with the below page.

If you see the above image you have successfully installed Nginx.
Installing MySQL
Now we can move onto MySQL. MySQL is a type of database which is widely used around the world.
To install MySQL run the below commands
sudo apt install mysql-server

sudo mysql_secure_installation
Again, if prompted press Y to install MySQL.
Now that MySQL is installed and running we want to change the password for our MySQL server (this is a separate password to the one we just entered in the setup).
Login to MySQL using the mysql command.
sudo mysql
Next, we want to change our SQL password. Be sure to change password in the below command.
ALTER USER 'root'@'localhost' IDENTIFIED WITH mysql_native_password BY 'password';
Once, you have entered this command you want to refresh MySQLs permissions using the FLUSH command.
FLUSH PRIVILEGES;
Now type exit and press enter to leave MySQL.
// Note: After changing our root password we can no longer just use the mysql command. Now you will have to use the below command to enter MySQL

mysql -u root -p

// After entering this you will be prompted for a password
Now our database system is set up and installed.
Installing Node.Js
Node.Js is a very robust and popular framework for JavaScript. We will want to install Node.Js on our system as FaxUp indeed requires it. For this we will use Node Package Manager (NVM)
Install NVM along with Node.Js onto our system
curl -o- https://raw.githubusercontent.com/nvm-sh/nvm/v0.39.1/install.sh | bash

nvm install 16.13.2
Certbot (SSL)
Lastly, we want to install Certbot. This allows us to automatically issue and install SSL certificates on our domain which makes user connections secure.
To install Certbot run the below command.
sudo apt install certbot python3-certbot-nginx
Great job! You've finished installing the software requirements!
Nginx Configuration
Using a SFTP viewer navigate to /etc/nginx/sites-available/default. This is the Nginx site configuration. Delete the contents of the default file if you haven't made changes to it before.
Replace the contents with the below and change the port and domain as instructed.
server {

  server_name example.com; # Change domain to your domain

  location / {
    proxy_pass http://localhost:3000; # Change the port if needed.
    proxy_http_version 1.1;
    proxy_set_header Upgrade $http_upgrade;
    proxy_set_header Connection 'upgrade';
    proxy_set_header Host $host;
    proxy_cache_bypass $http_upgrade;
    proxy_set_header X-Real-IP $remote_addr;
  }
}
Once you have made your changes save the file and restart Nginx.
sudo systemctl restart nginx
Issue SSL Certificate
To issue our SSL certificate we want to run the below command and replace the domain name to ours.
sudo certbot --nginx -d example.com
You may be asked for some details like an email (this doesn't get used publicly).
When directed for a redirect method select the 2 option.
Now our certificate is issued we want to make sure it renews itself. Run the renew command to do so.
sudo certbot renew --dry-run
Installing FaxUp Files
This might be the easiest step in the whole guide.
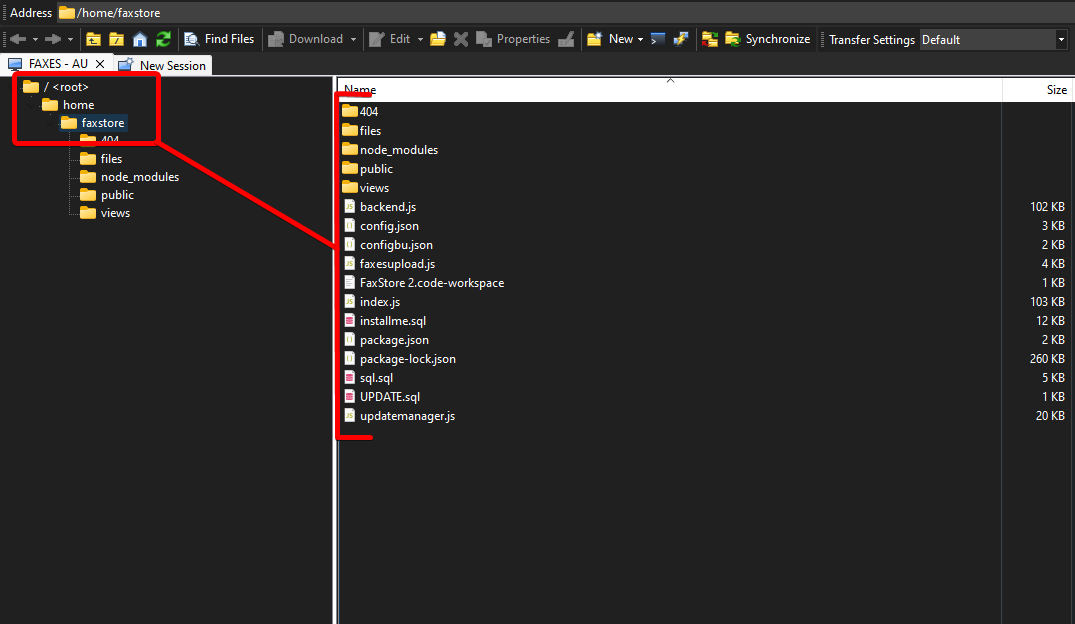
Using a SFTP application like WinSCP copy and paste the contents of our download to the /home directory.
We want to end location to be /home/faxup so create a new directory if needed.

Installing The Database
Now, back to the harder stuff, it's time to install the MySQL database for FaxUp.
Login to our MySQL server using the mysql -u root -p command and enter your password.
Next all we need to do once logged in is run the below command.
source /home/faxup/installme.sql
Configuring
Now inside the folder we have installed FaxUp, we want to edit the config.json file to our own settings.
Starting
Well, congratulations you've made it to the last step in the installation guide. This is an easy one...
First off we want to create a license key at license.faxes.zone. Once you create a license key copy the key and place it in your config file.
After that,
Create a screen session with screen -S faxup
Once in your screen session we will want to navigate to the directory of our application. Use cd /home/faxup
We have one more important step before we start FaxUp... We must install the node modules.
Run the install command
npm install
This installs the required packages that help run FaxUp.
Now, it's time to start FaxUp. Use the basic start command with
node .
Congratulations, FaxUp is now running.
To create the admin account on FaxUp visit the /setup page on your site (e.g. status.faxes.zone/setup). This can only be ran once.
Take a further look at screen sessions if you're new too them.
Review this page
